Organize and determine which
pictures you would like to use to
create your photo book.
Create a folder with these pictures and save it in a location of your choice.
Do not move or rename pictures while working on your project, as MyPictureBook Designer does not make a copy of your pictures within the software.
2. Choose Your Photo Book Size & Style.
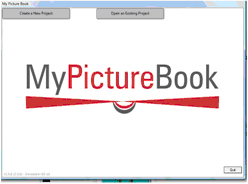
Open MyPictureBook Designer from the start menu or by double clicking on the shortcut key on your desktop.
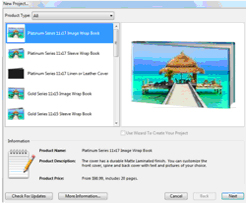
Click on create a new project and determine the size and style of your
photo book.
You can scroll through each product, by clicking on each product you can the see product description and price at the bottom of the screen.
Product offerings and prices can also be found on our website.
3. Add Your Pictures.
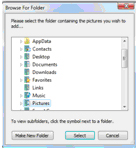
Click add on the left panel in the main window to bring in pictures for your
photo book.
Browse to where you have saved the pictures for this
photo book.
4. Create Your Photo Book.
The pre-designed page styles are the easiest and quickest way to start building your
photo book or you can create your own.
You can drag in template from the page layout library and then drag in one of your pictures to populate the frame.
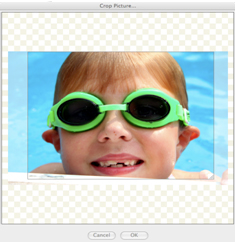
Double clicking on the picture opens a crop tool where you can crop the picture to the image you want to use.
You can design each page the way you want by applying different backgrounds and other special affects from the other libraries below in the main window.
You can further manipulate your images using the Inspector panel on the right of the main window.
5. Order Your Photo Book.
Once you have completed your photo book, click on the shopping cart icon to order your
photo book and follow the instructions to complete your order.